DIY Noragi Jacket Pattern: Make Your Own Japanese Workwear Classic | Free Tutorial
The timeless appeal of Japanese workwear has made its way into modern fashion, with the noragi jacket standing out as a versatile and stylish garment. I've noticed how this traditional farmers' and fishermen's jacket has evolved from its humble beginnings into a contemporary wardrobe staple, combining comfort with minimalist design.
Creating your own noragi jacket isn't just cost-effective - it's an opportunity to embrace the rich heritage of Japanese craftsmanship while adding personal touches through traditional techniques like Sashiko stitching. Whether you're a beginner or experienced sewist, this open-front jacket with its kimono-inspired collar offers a perfect canvas for both simple and intricate designs, available in sizes ranging from 0-2 to 28-30.
Understanding the Noragi Jacket Style
The noragi jacket represents a distinctive intersection of Japanese utility wear and contemporary fashion sensibilities. Its adaptable design has evolved from traditional Asian workwear into a versatile modern garment.
History and Traditional Design Elements
Traditional noragi jackets originated as practical workwear for Japanese farmers during the Edo period. These garments featured:
- Wrap-front closure with simple ties or toggles
- Straight-cut sleeves for unrestricted movement
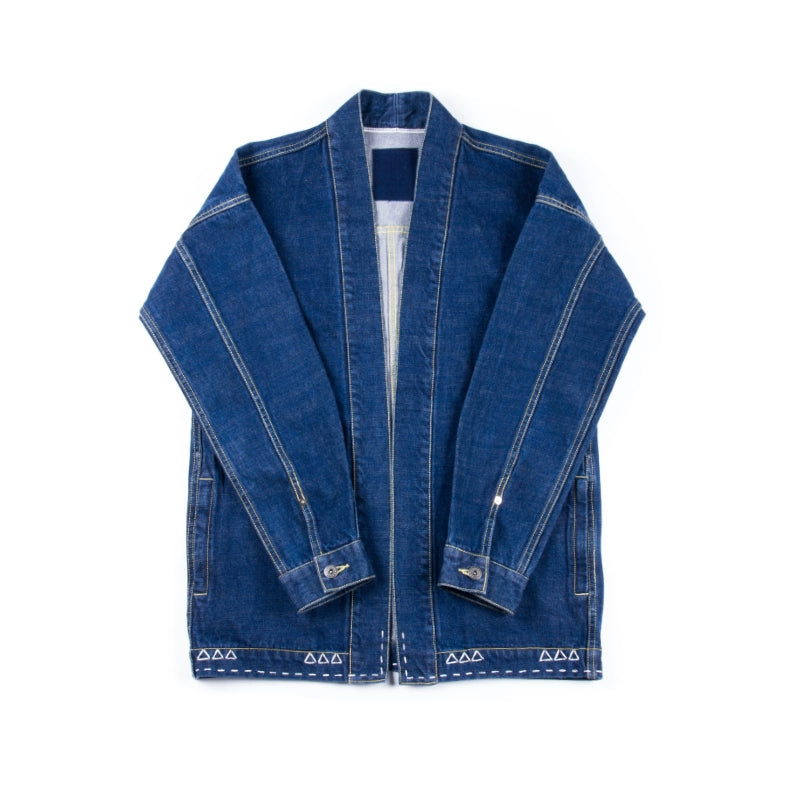
- Indigo-dyed cotton fabric for durability
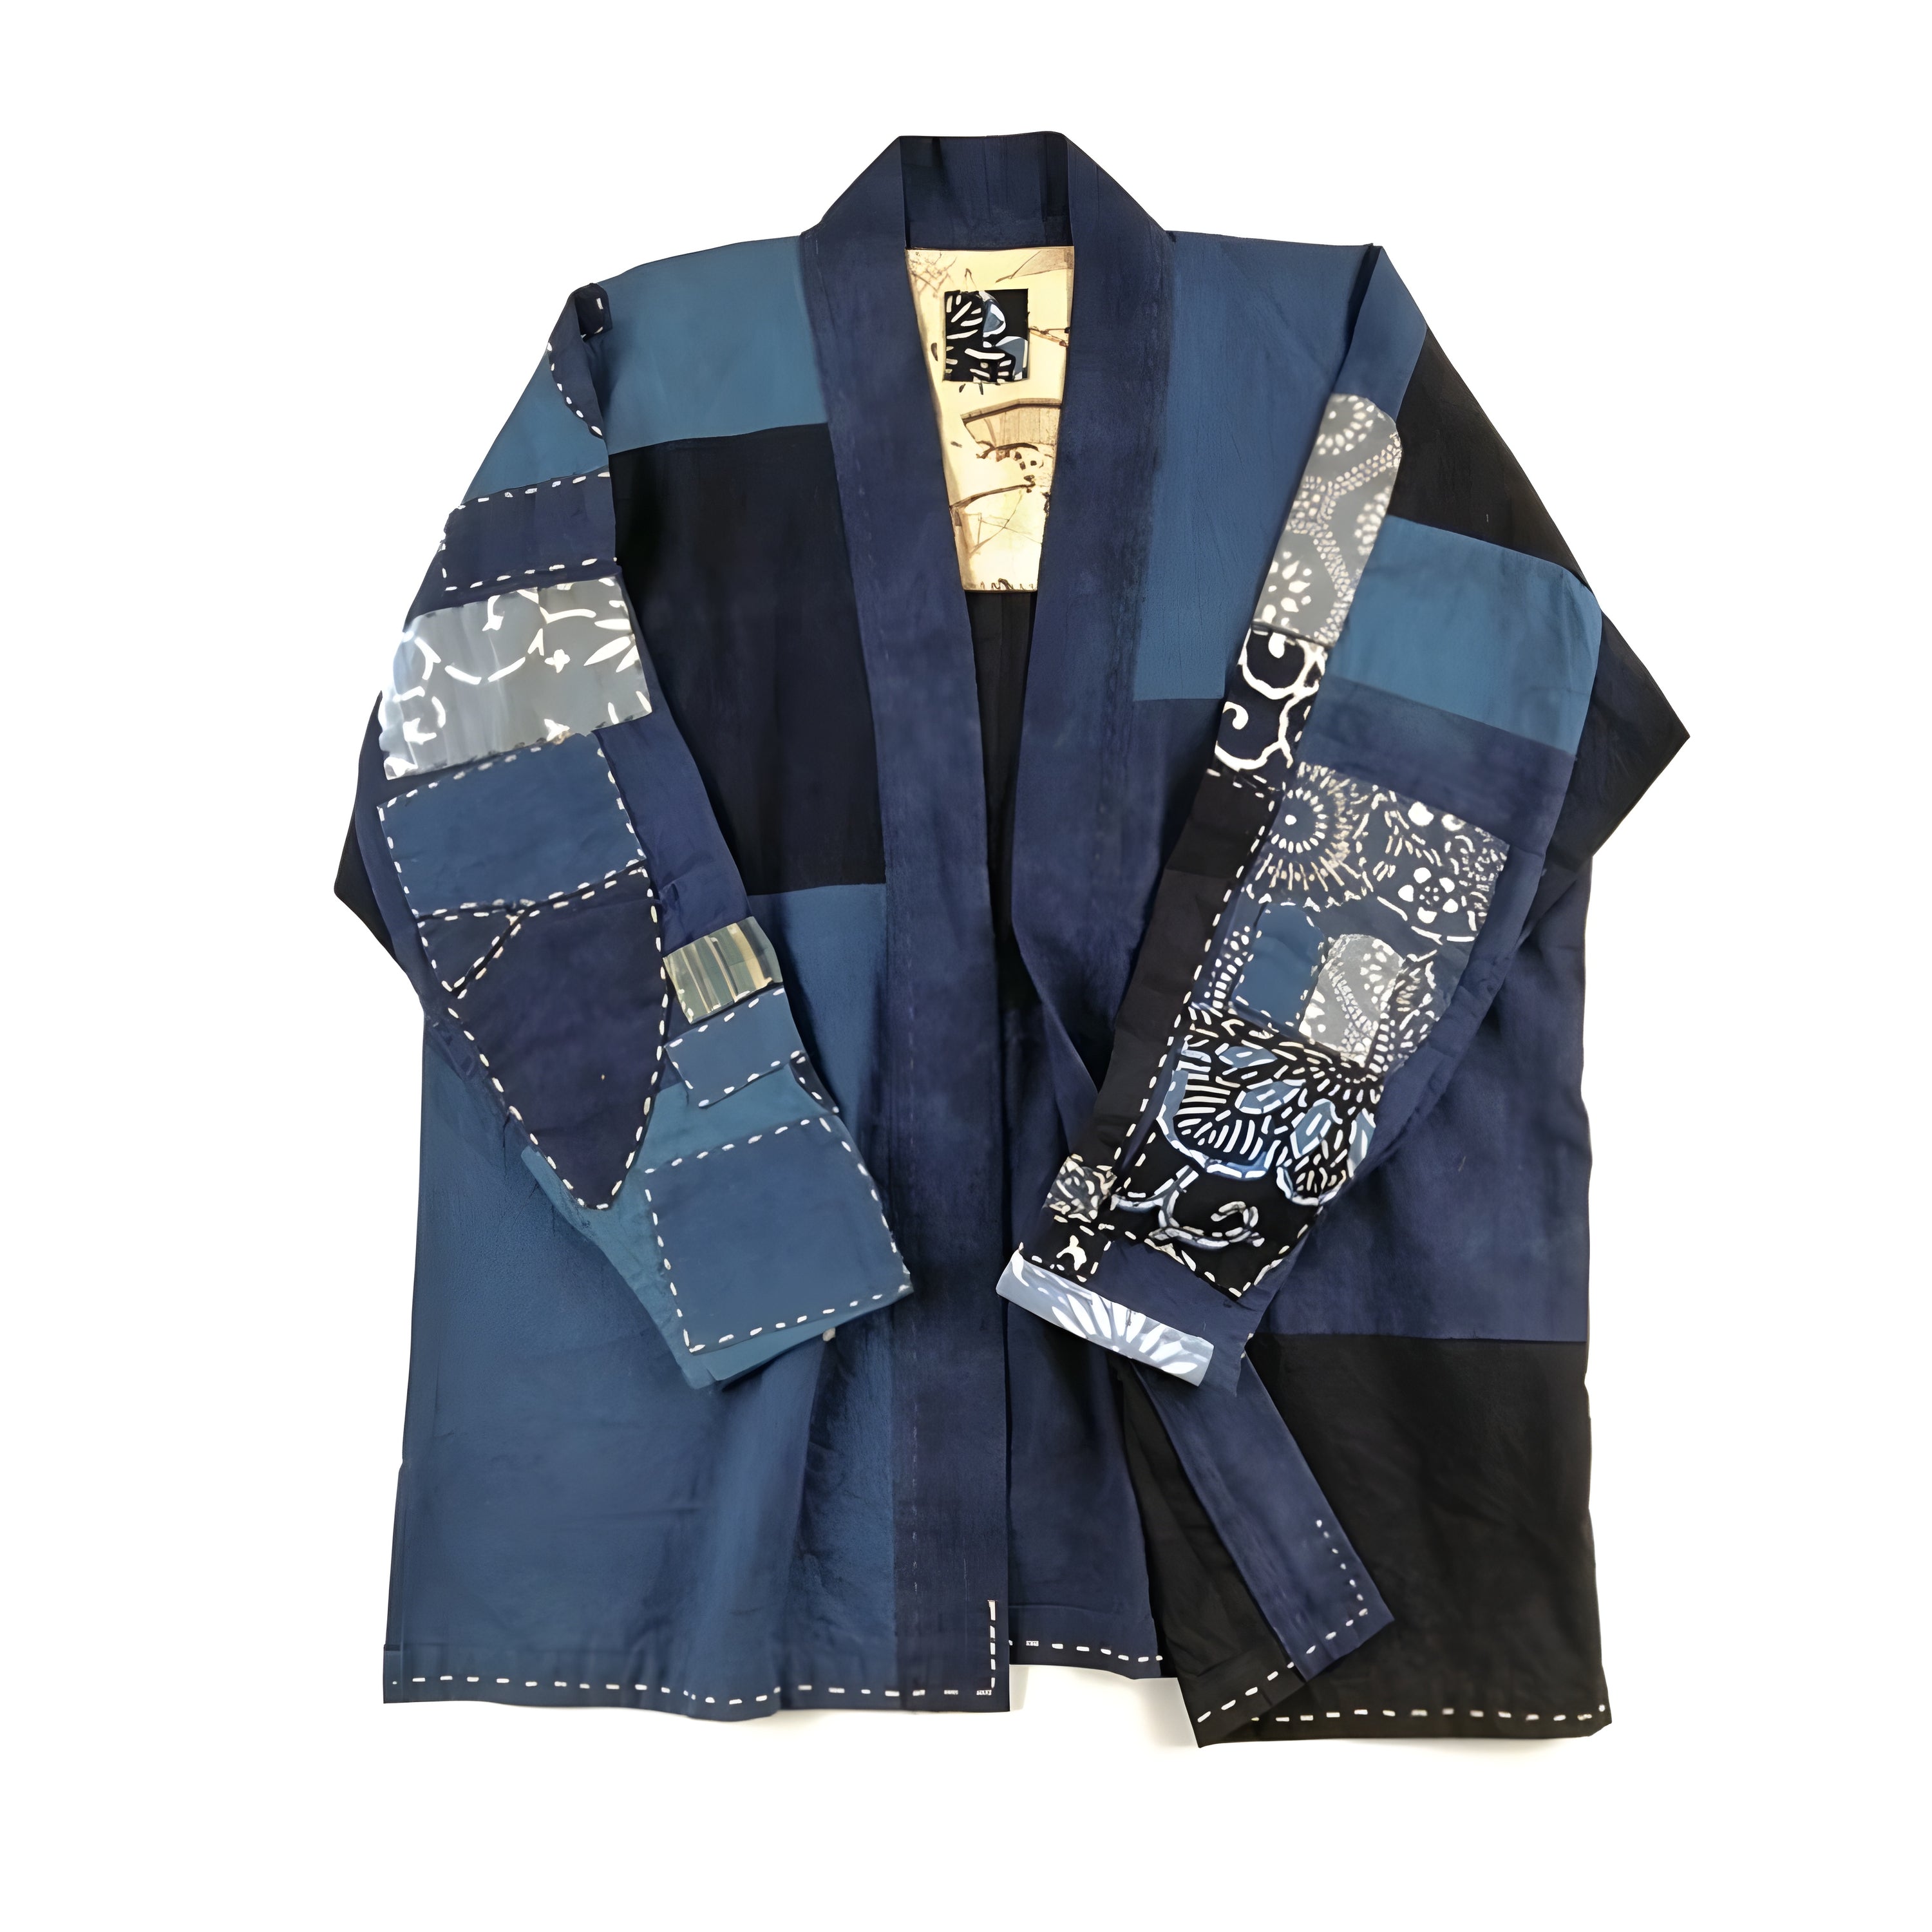
- Hand-stitched construction using sashiko techniques
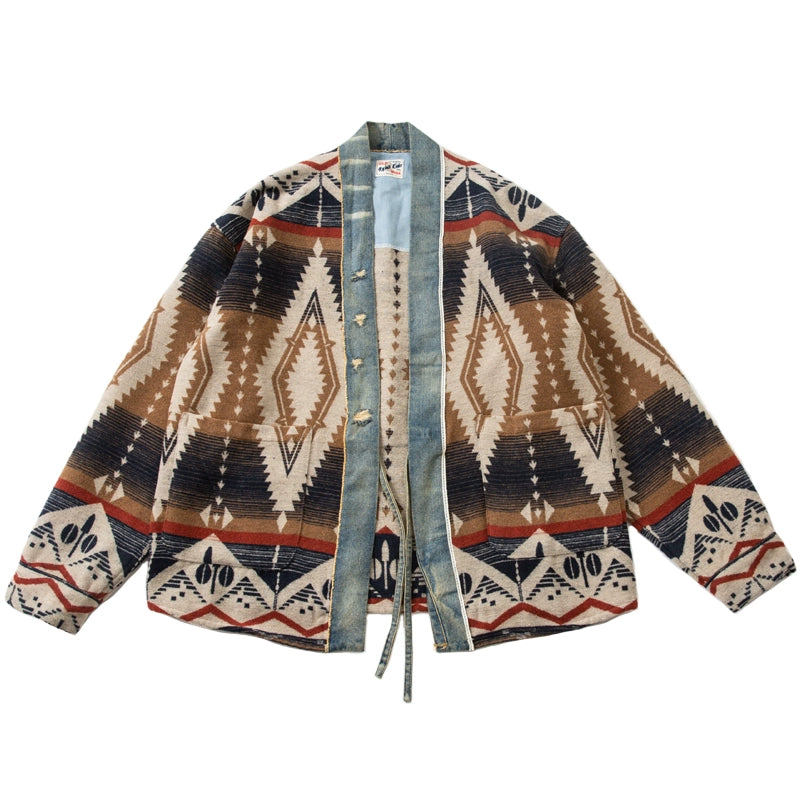
- Patchwork repairs showcasing boro mending practices
Key Features and Construction Details
Modern noragi jackets maintain specific structural elements that define their characteristic style:
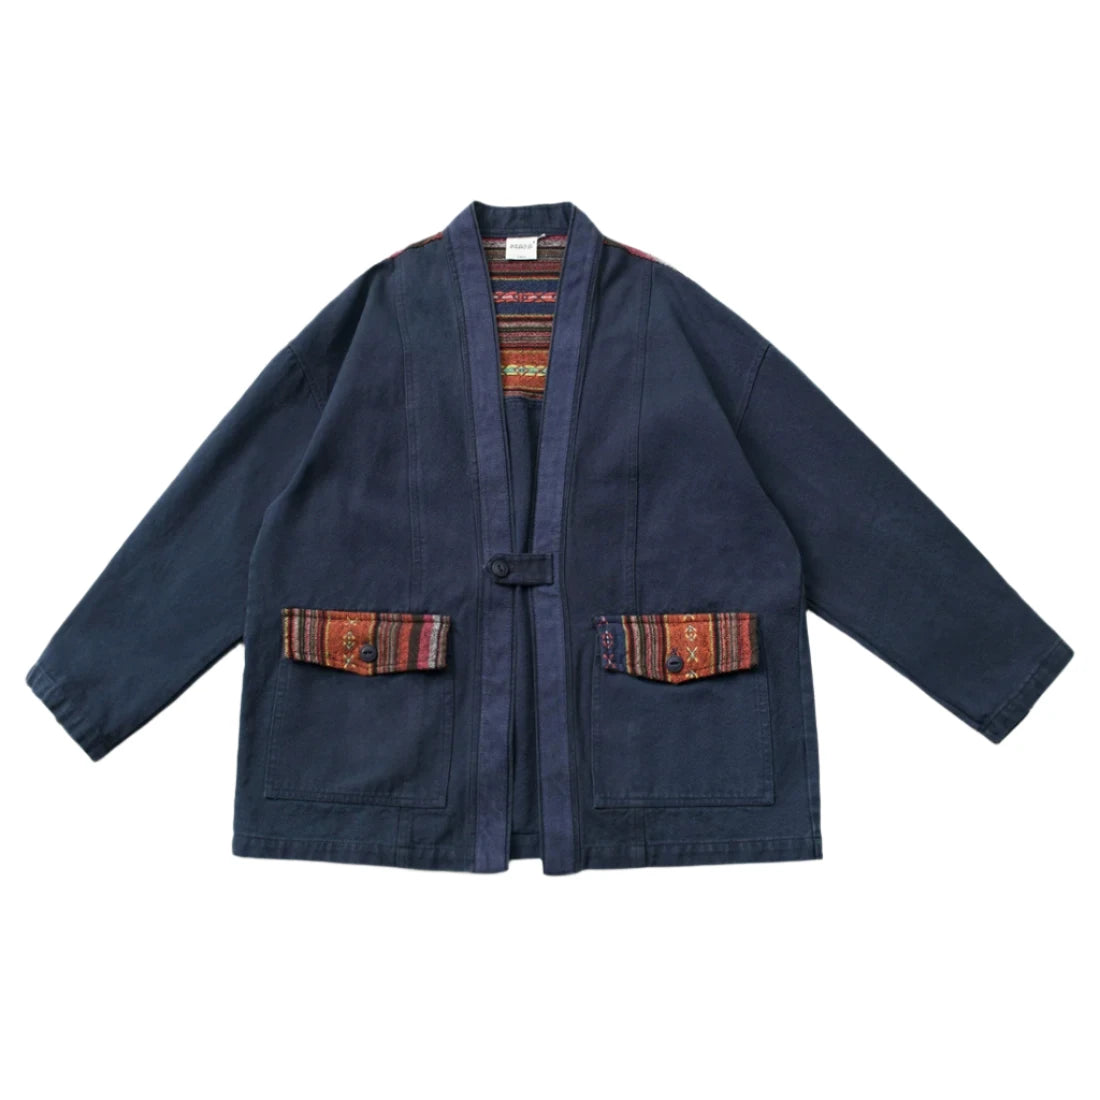
- Open-front design with overlapping panels
- Wide sleeves that taper slightly at the wrist
- Square-cut body without defined waistline
- Minimal internal construction without linings
- Heavy-duty fabrics like denim or canvas
- Strategic seam placement for mobility
- Side vents for ease of movement
- Simple collar construction with clean edges
| Design Element | Traditional | Modern Adaptation |
|---|---|---|
| Fabric Weight | Light cotton | Heavy denim/canvas |
| Sleeve Cut | Wide straight | Slightly tapered |
| Closure Type | Ties/toggles | Optional ties |
| Construction | Hand-stitched | Machine-sewn |
| Fit | Loose | Semi-fitted |
The adapted noragi incorporates rougher materials with streamlined proportions, creating a silhouette that bridges casual wear with structured outerwear. These modifications transform the traditional farmer's jacket into a contemporary piece that pairs effectively with modern wardrobe staples.
Required Materials and Supplies
Creating a noragi jacket requires specific materials tailored to achieve authentic Japanese workwear aesthetics. The following lists detail essential components for a successful project.
Fabric Selection and Requirements
Primary fabric options for a noragi jacket include:
- Medium to heavyweight cotton (8-12 oz) for durability
- Linen-cotton blends (6-10 oz) for breathability
- Raw denim (12-14 oz) for traditional workwear appeal
- Canvas (10-12 oz) for structured silhouettes
Fabric quantities:
| Size Range | Required Yardage |
|---|---|
| XS-M | 2.5-3 yards |
| L-XL | 3-3.5 yards |
| 2XL-3XL | 3.5-4 yards |
Tools and Notions
Essential sewing supplies include:
- Universal sewing machine needles (size 90/14)
- Heavy-duty thread (100% polyester)
- Fabric scissors
- Rotary cutter with self-healing mat
- Clear ruler or measuring tape
- Fabric marking tools (chalk pencil tailor's soap)
- Iron with pressing cloth
- Straight pins or fabric clips
- Traditional tie closures (2-3 sets)
- Optional snaps or buttons
- Interfacing for reinforcement areas
- Pattern paper for tracing
- Seam ripper
- Pin cushion
Taking Measurements
Accurate measurements form the foundation of a well-fitted noragi jacket. The following guidelines ensure precise sizing calculations based on standard Australian sizing charts.
Size Chart Guidelines
Body measurements correlate directly to pattern sizes ranging from 4 to 30:
| Measurement | Size Range (inches) |
|---|---|
| Bust | 32¼ - 60¼ |
| Waist | 29½ - 57½ |
| Hem | 33⅞ - 61¾ |
| Shoulder | 13⅞ - 20⅛ |
| Sleeve Length | 22⅞ - 26 |
| Sleeve Girth | 12⅜ - 19⅞ |
Fabric requirements vary by size:
- Sizes 4-16: 1.75 yards (58" width fabric)
- Sizes 18-30: 2.20 yards (58" width fabric)
Making Adjustments for Fit
The noragi pattern accommodates several key adjustments:
- Lengthen or shorten at marked adjustment lines
- Add width to sleeve panels for increased mobility
- Modify shoulder width by adjusting the panel seams
- Extend or reduce overall length at hemline
- Alter sleeve length at cuff markings
- Adjust side seams for comfortable ease
- Main seams: ⅝ inch
- Hems: 1 inch
- Side seams: 1 inch for fitting adjustments
Pattern Layout and Cutting
The noragi jacket pattern consists of straightforward geometric pieces that require precise cutting for optimal fabric usage. Here's a systematic approach to laying out and cutting your pattern pieces.
Pattern Pieces Overview
A noragi jacket pattern includes 7 essential components:
- Front Panels (2): Rectangular pieces with slight shaping at the shoulders
- Back Panel (1): A single wide rectangle with minimal shoulder shaping
- Sleeves (2): Straight-cut rectangular pieces with sleeve cap curves
- Collar Band (1): Long rectangular strip for the traditional standing collar
- Ties (4): Narrow strips for the front closures
Pattern measurements for size M (chest 38-40"):
| Pattern Piece | Length | Width |
|---|---|---|
| Front Panels | 28" | 12" |
| Back Panel | 28" | 24" |
| Sleeves | 24" | 16" |
| Collar Band | 32" | 4" |
| Ties | 12" | 2" |
Fabric Layout Tips
Key layout strategies maximize fabric efficiency:
- Position front panels parallel to selvage edges
- Place back panel on fold to ensure symmetry
- Arrange sleeve pieces in opposite directions
- Stack collar band pieces along grain lines
- Position ties diagonally to utilize fabric scraps
- Mark notches outside cutting lines on pattern pieces
- Add 5/8" seam allowance on all edges except hems
- Include 2" hem allowance at sleeve bottoms jacket hem
- Cut front panels individually
- Cut back panel on fabric fold
- Cut sleeves as mirror images
- Cut collar band on straight grain
- Cut ties on bias for better drape
Step-by-Step Construction
The construction of a noragi jacket follows a systematic process that prioritizes clean lines and structural integrity. I've broken down the assembly into essential stages, focusing on traditional Japanese construction methods.
Assembling the Main Pieces
I start by joining the shoulder seams of the front panels to the back panel using a 1/2 inch seam allowance. Here's the sequence:
- Pin front panels to back panel right sides together
- Stitch shoulders with a straight stitch at 3.5 length
- Press seams open flat
- Attach sleeves to armholes using sleeve notches for alignment
- Sew side seams from sleeve edge to bottom hem
- Press all seams open with a hot iron
Adding Traditional Details
Traditional noragi details create authenticity through specific construction elements:
- Apply collar band
- Fold collar band in half lengthwise
- Pin to neckline right sides together
- Stitch with 3/8 inch seam allowance
- Turn under raw edge and hand stitch
- Create tie closures
- Fold ties lengthwise and stitch
- Turn right side out
- Press flat
- Attach at marked points along front edges
- Add reinforcement patches
- Position patches at stress points
- Edge stitch with 1/8 inch allowance
- Add traditional X-pattern stitching
- Finish edges
- Double fold all raw edges 1/4 inch
- Topstitch with matching thread
- Add corner reinforcements at hem splits
Each step incorporates specific measurements and traditional Japanese workwear construction techniques, ensuring durability and authenticity in the final garment.
Optional Design Variations
The noragi jacket pattern accommodates various customization options that enhance its versatility. These modifications create unique interpretations while maintaining the garment's traditional essence.
Fabric Choices and Combinations
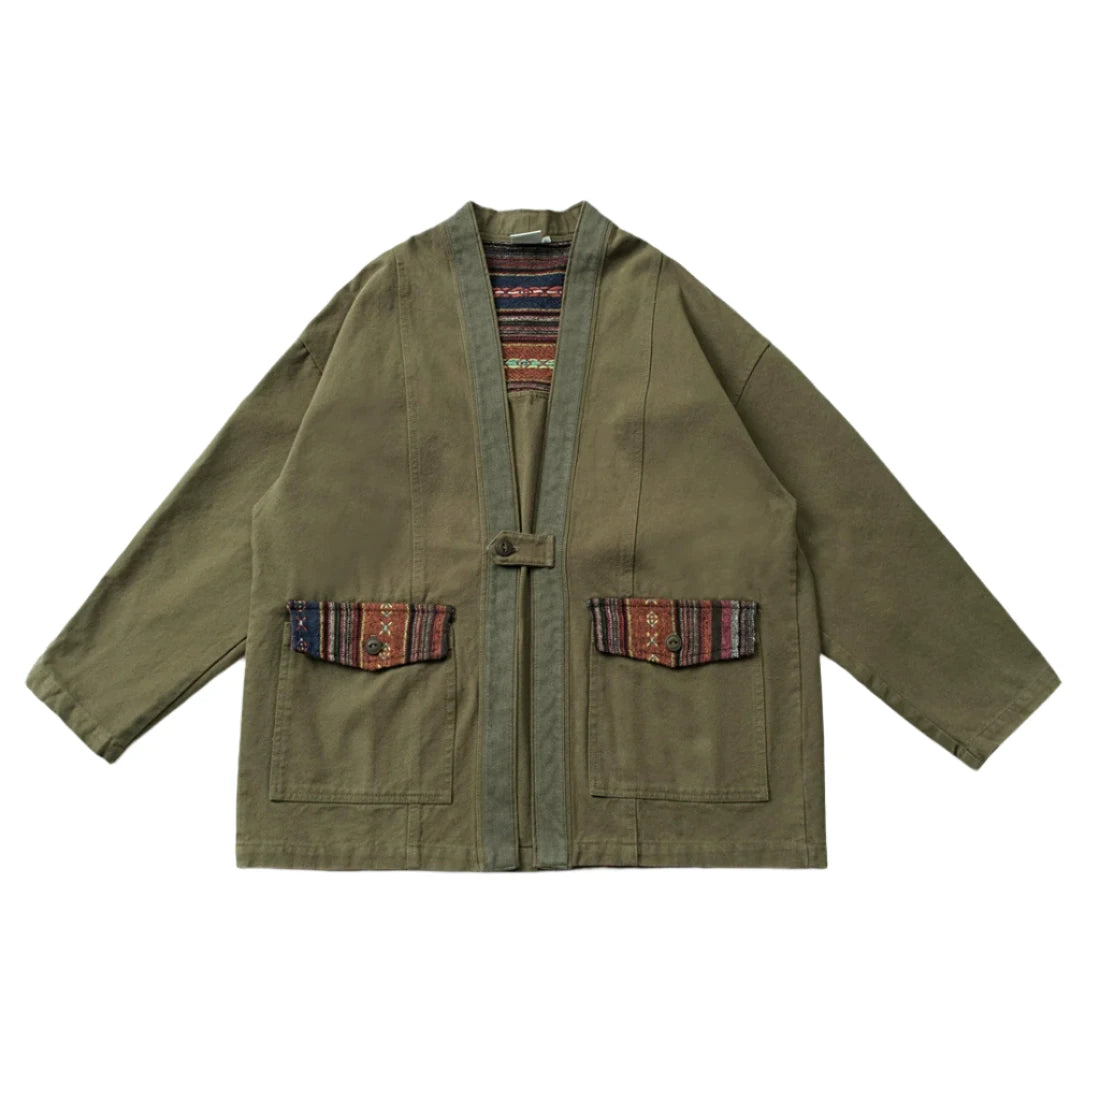
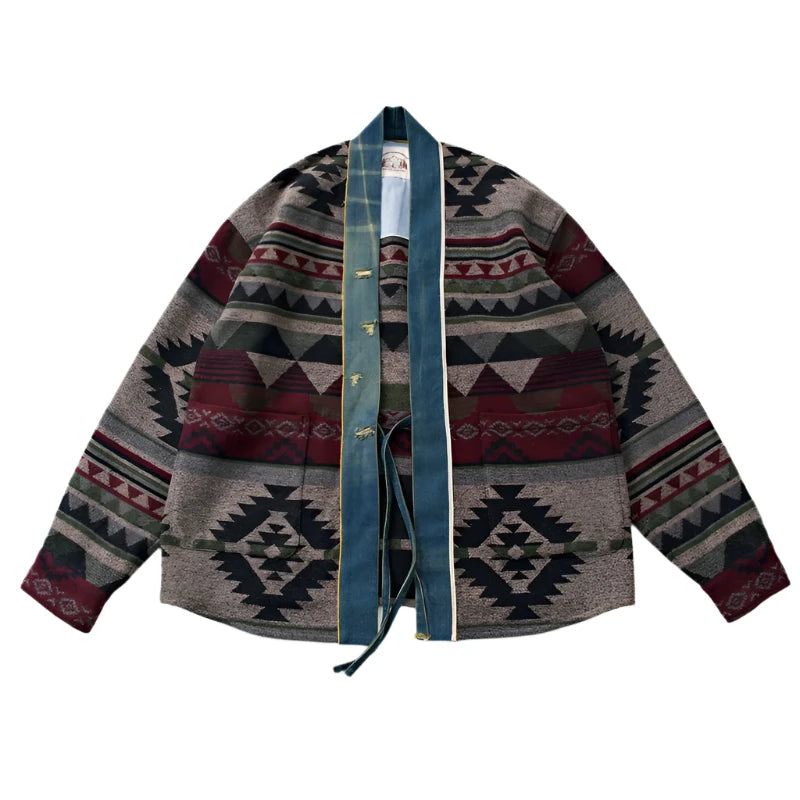
Contemporary noragi designs incorporate mixed fabric panels for visual interest. I combine heavyweight indigo denim for the body with lighter cotton for sleeves or add contrasting canvas patches on high-wear areas. Key fabric combinations include:
- Textural contrasts: Raw denim body with herringbone twill sleeves
- Tonal variations: Light indigo panels with dark indigo accents
- Pattern mixing: Solid body with subtle striped patches
- Seasonal adaptations: Summer weight linen-cotton blend with canvas reinforcements
- Sashiko stitching patterns:
- Running stitch grid (24 stitches per inch)
- Diamond patterns across shoulders
- Wave designs along hem edges
- Geometric borders on sleeve cuffs
- Visible mending details:
- Contrasting thread repairs
- Decorative patch reinforcements
- Cross-stitch accents
- Functional embellishments:
- Triple-stitch seam detailing
- Hand-sewn buttonholes
- Reinforced pocket edges
Conclusion
Creating your own noragi jacket is a rewarding journey that combines traditional Japanese craftsmanship with modern style. I've shared my knowledge to help you craft a garment that's both authentic and uniquely yours.
Whether you're drawn to its rich history minimal aesthetic or practical design I'm confident you'll find the noragi jacket to be a versatile addition to your wardrobe. With the right materials careful measurements and attention to detail you'll soon be wearing a piece that reflects both timeless Japanese design and your personal style.
Now it's your turn to pick up your fabric scissors and start crafting your own noragi jacket. I'd love to see what you create!
Frequently Asked Questions
What is a noragi jacket and what is its origin?
A noragi jacket is a traditional Japanese workwear garment originally worn by farmers and fishermen during the Edo period. It features a wrap-front closure, straight-cut sleeves, and was typically made from indigo-dyed cotton. Today, it has evolved into a versatile fashion piece that combines utility with minimalist design.
What makes noragi jackets unique in modern fashion?
Noragi jackets stand out for their blend of traditional Japanese utility wear and contemporary style. They feature an open-front design, wide sleeves, and are made from durable fabrics like denim or canvas. Their versatile silhouette works well with both casual and semi-formal outfits.
What materials are best for making a noragi jacket?
The best materials for a noragi jacket include medium to heavyweight cotton, linen-cotton blends, raw denim, and canvas. These fabrics provide durability and maintain the authentic Japanese workwear aesthetic. The choice of fabric affects both the jacket's appearance and functionality.
Can beginners make their own noragi jacket?
Yes, noragi jackets are suitable for sewists of all skill levels. The construction process involves straightforward techniques and basic pattern pieces. With proper measurements and attention to detail, beginners can successfully create their own custom noragi jacket.
How do I ensure the right fit when making a noragi jacket?
Take accurate body measurements and consult sizing charts before starting. Key measurements include chest, shoulders, sleeve length, and desired jacket length. The pattern can be adjusted for personal preferences by modifying sleeve width, jacket length, or side seams.
What are some ways to customize a noragi jacket?
Customization options include using contrasting fabrics for different panels, adding Sashiko stitching patterns, incorporating visible mending techniques, and applying decorative patches. You can also modify the traditional design with modern closures or pocket variations while maintaining the classic silhouette.